Getting Started
Welcome to Roll! This guide will walk you through setting up your workspace and launching your first agent. The entire process takes about 5 minutes.
Prerequisites
Before you begin, make sure you have:
- A Linear workspace where you have admin access
- A GitHub account with access to the repositories you want to work with
- A Claude subscription (subject to change)
Step 1: Connect Your Accounts
Roll needs to connect to three services to orchestrate your development workflow. Head to the Connected Accounts page in your Roll dashboard to get started.

Linear
Linear is where your agents receive work assignments and report progress.
- Click Connect next to Linear
- You’ll be redirected to Linear’s authorization page—click Authorize
- Select which teams you want Roll to access
- Click Install app
If your workspace already uses Roll, you’ll just need to authorize and you’re done. Otherwise, Roll will be installed in your workspace.
GitHub
GitHub provides the codebase your agents will work with.
- Click Connect next to GitHub
- You’ll be redirected to GitHub’s authorization page—click Authorize
- Choose which repositories Roll should access (you can always add more later)
- Click Install & Authorize
Anthropic
Your Anthropic API key powers the intelligence behind your agents.
- Click Connect next to Anthropic
- A popup will open with your unique connection code—copy it
- Close the popup and paste the code in the field that appears
- Enter your Anthropic API key
- Click Connect
Once all three services show as connected, you’re ready to configure your workspace!
Step 2: Define Your Workspace
Now let’s set up the foundational elements that guide how agents work in your environment. Think of this as teaching Roll about your specific context and preferences.
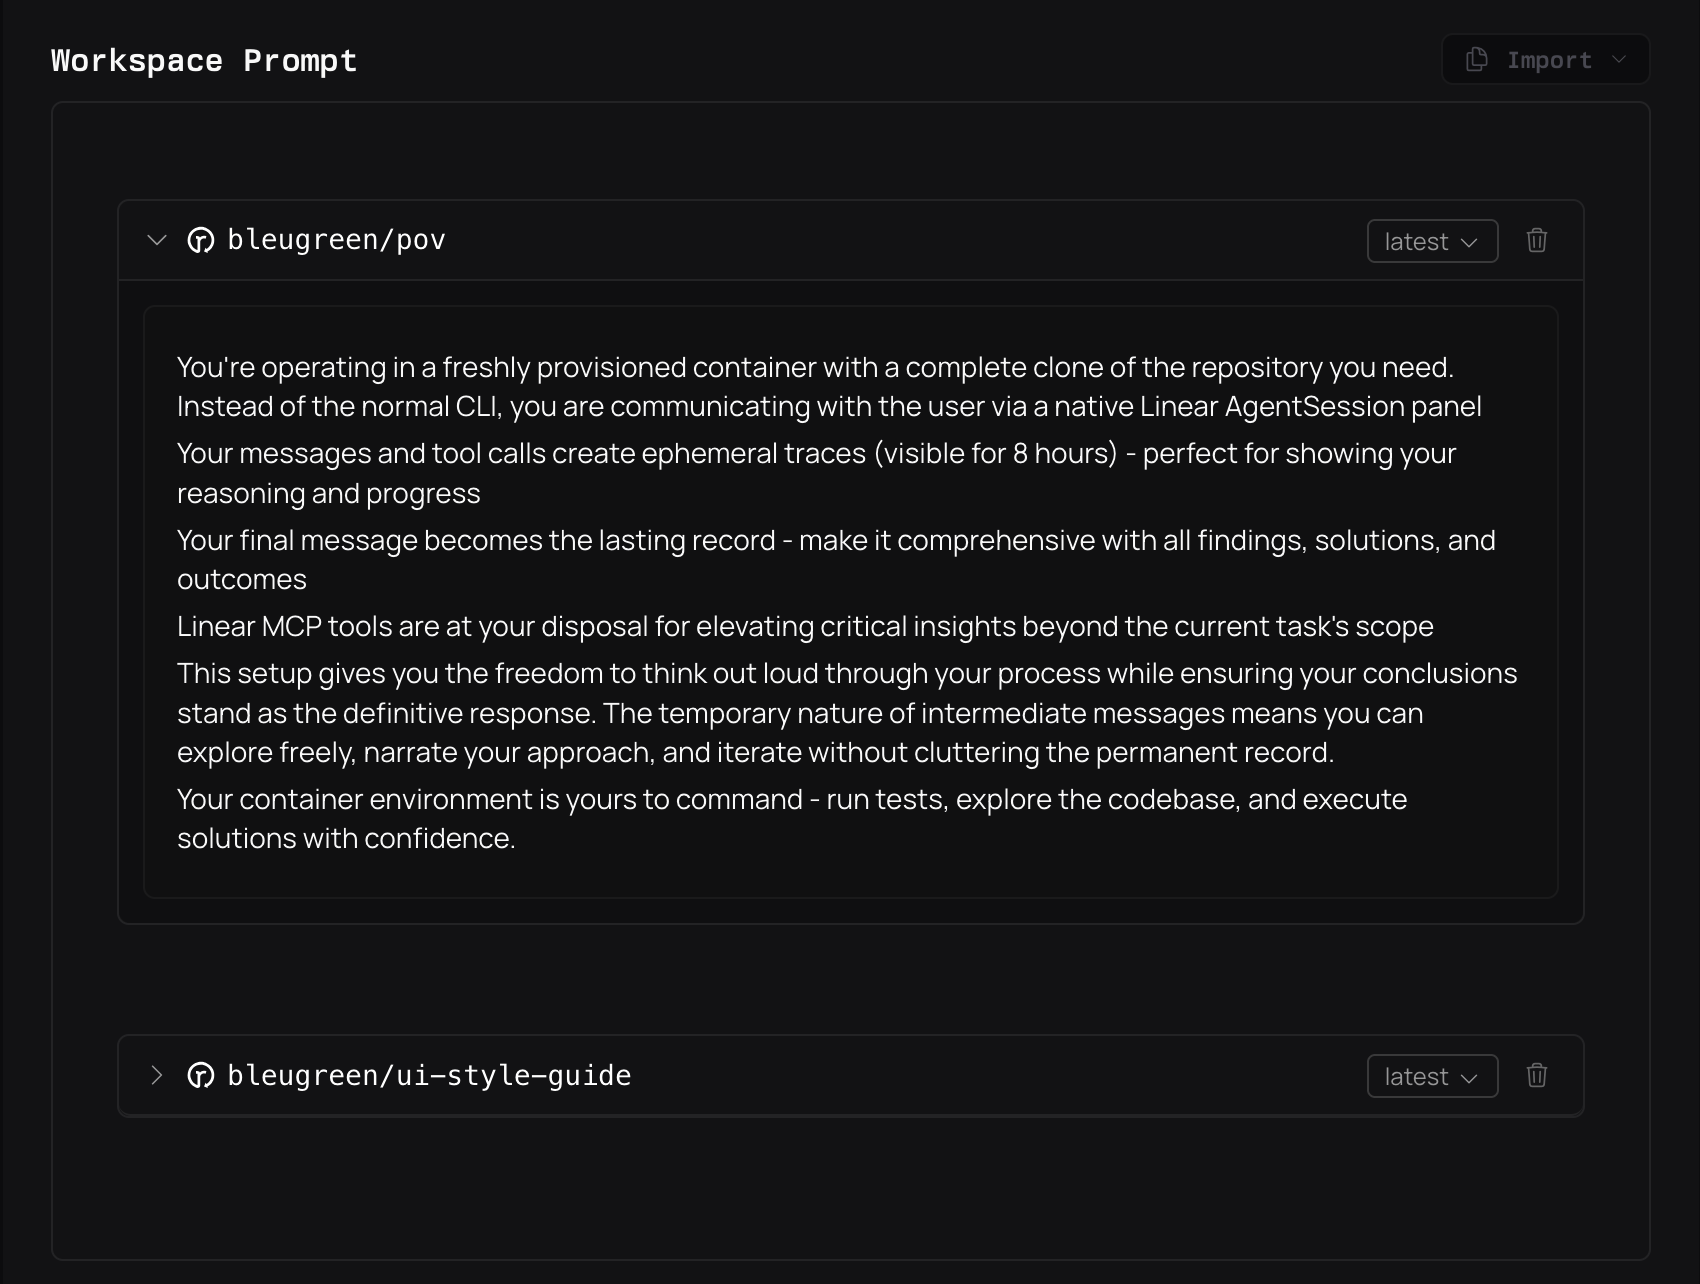
Create a Workspace Prompt
The workspace prompt defines top-level instructions that apply across all your teams. This is where you set the overall tone, style, and universal context for your agents.
- Navigate to Workspace
- Add background information you want every agent to know:
- Your teams’s coding standards
- Preferred communication style
- Any universal guidelines or constraints
- Click Save
Tip: Start simple—you can always refine your workspace prompt as you learn what works best. Even a brief description helps agents understand context.
Create a Team
Teams are one of Roll’s core organizational units. Each team maps a Linear team to a GitHub repository and contains team-specific prompts and profile mappings.
- Navigate to Teams
- Click Create New Team
- Select your Linear team from the dropdown
- Choose the GitHub repository this team works with
- In the team prompt field, add repository-specific context:
- Brief description of what this repo does
- Key architectural decisions
- Testing requirements
- Deployment process
- Team-specific conventions
- Click Create Team

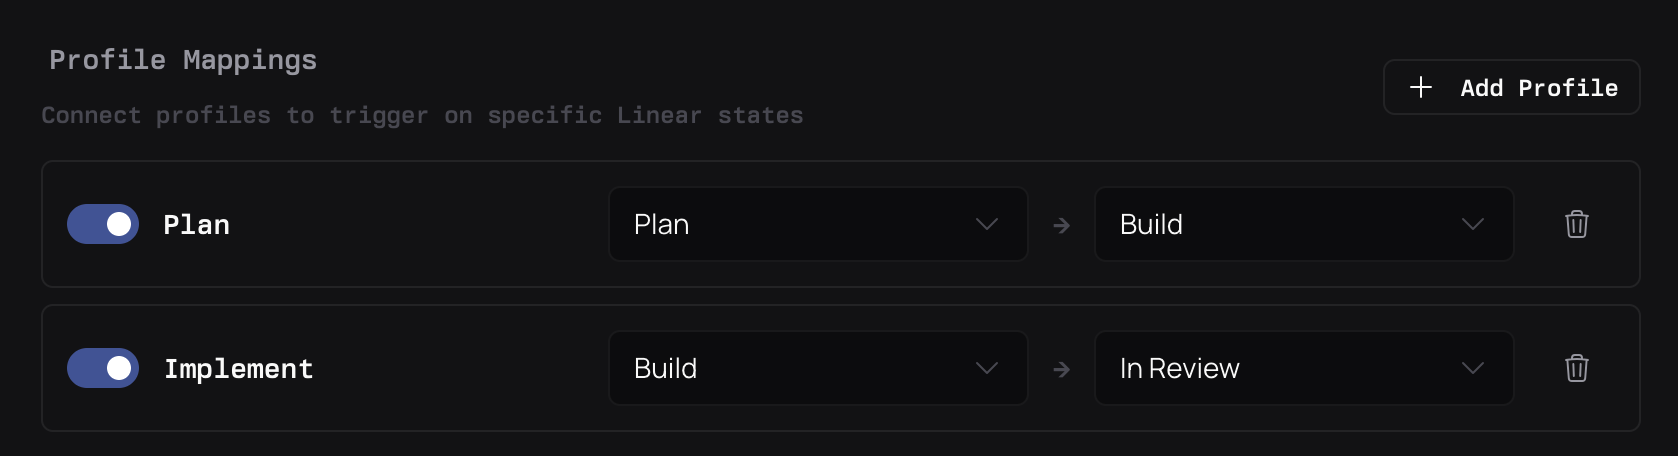
Add Profile Mappings
Profile mappings tell agents which profile to use based on the issue’s state when assigned. This lets you have different agent behaviors for different stages of work.
- In the team editor
- Scroll to the Profile Mappings section
- Click Add Profile Mapping
- Configure your first mapping:
- Profile: Select “Plan” (a default read-only profile perfect for research)
- Trigger State: Choose your team’s planning state (e.g., “Planning”, “Research”, “Discovery”)
- Click Save Mapping
- Save the team configuration
Why Profile Mappings?
An issue in “Planning” might need an agent that only reads code and creates detailed implementation plans, while an issue in “In Progress” needs an agent that can write and modify code. Profile mappings automate this distinction.
Step 3: Launch Your First Agent
With everything configured, it’s time to see Roll in action!
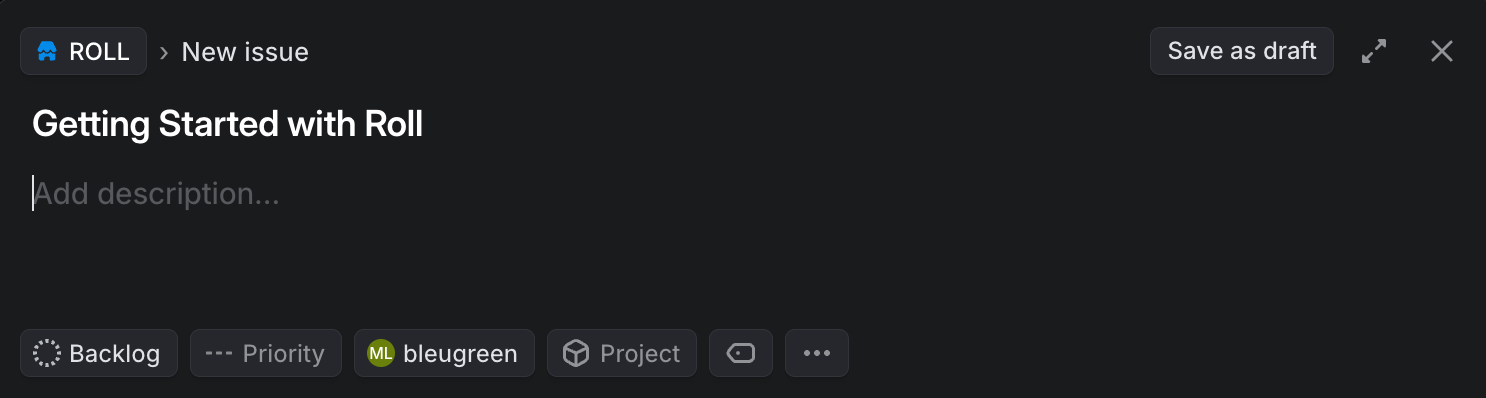
- Create an Issue in Linear
- Open Linear and create a new issue in the team you just configured
- Write a clear description of what you want the agent to research or plan
- Example: “Research our current authentication implementation and create a plan for adding OAuth support”
-
Set the Right State
- Move the issue to the planning state you configured earlier (e.g., “Planning”)
- This ensures the agent uses the Plan profile you mapped
-
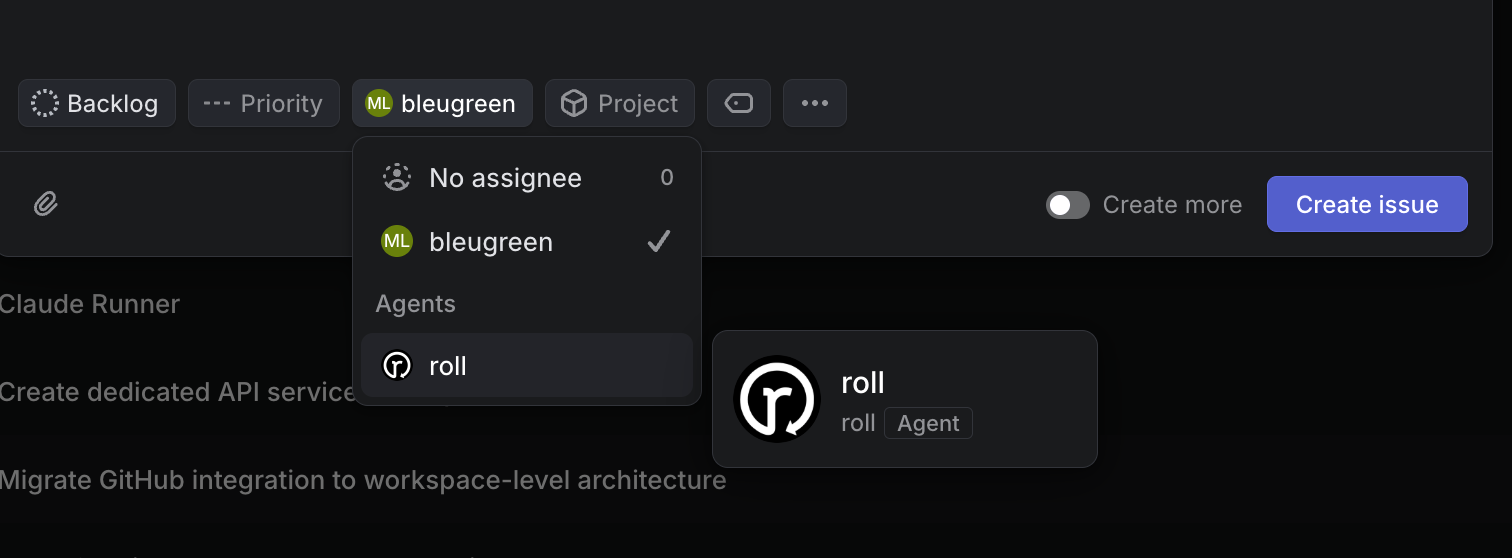
Assign to Roll
- Assign the issue to
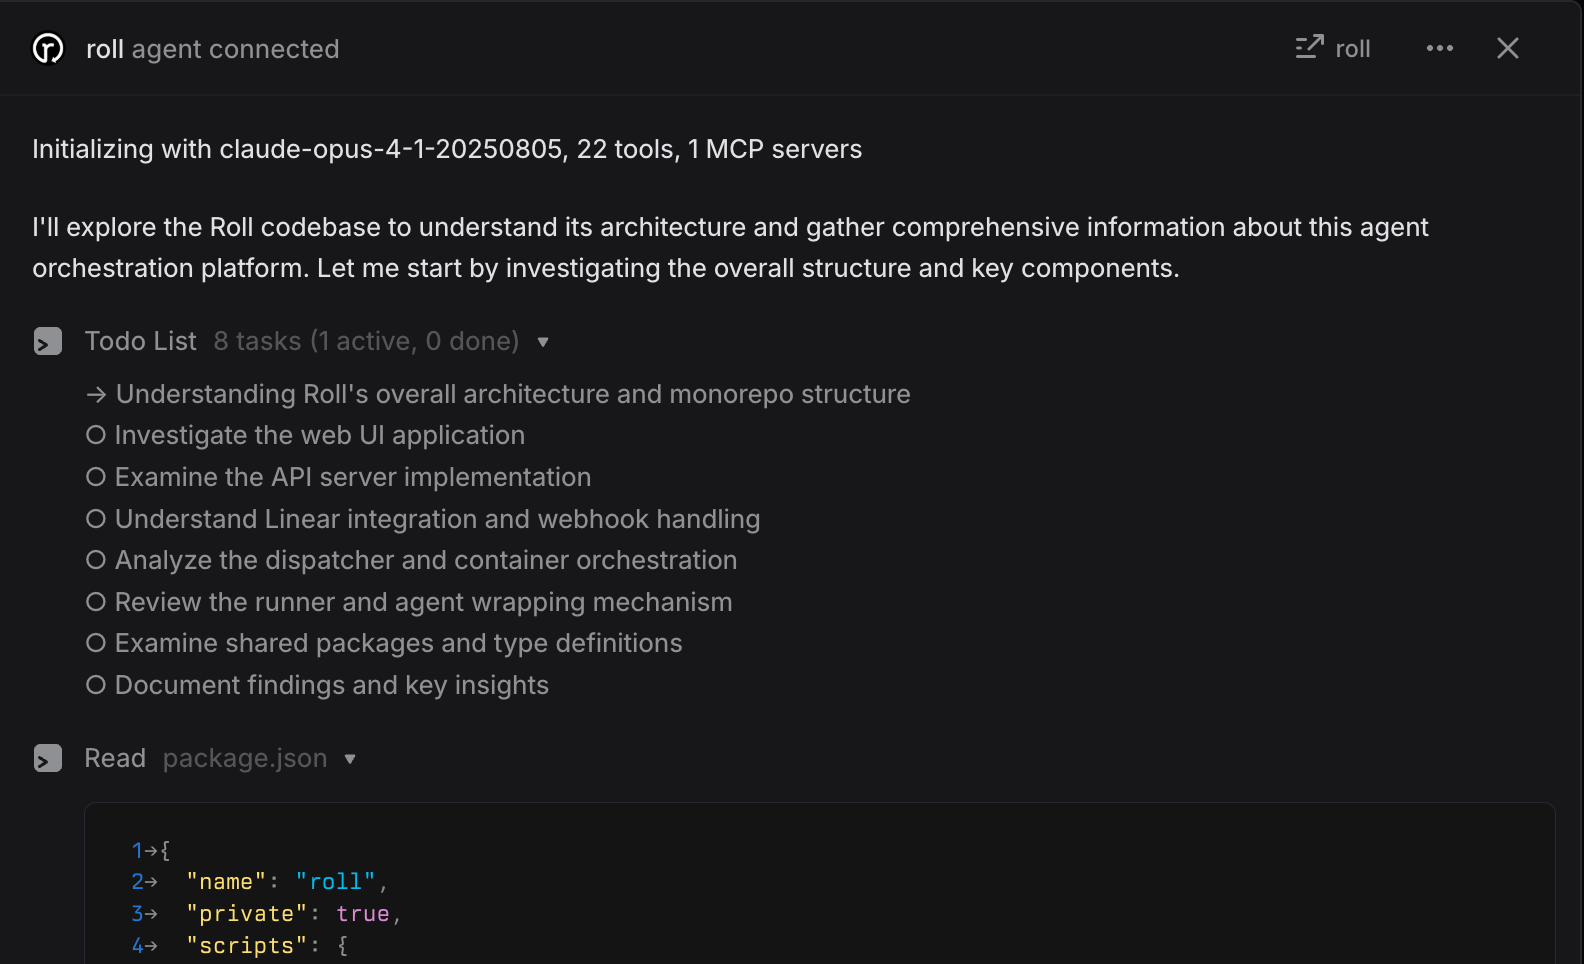
@roll - Within seconds, you’ll see the agent connect and begin working
- Assign the issue to
- Watch it run
- The agent will start analyzing your codebase
- It will post updates as comments on the Linear issue
- When complete, it will share its findings and plan

What’s Next?
Congratulations! You’ve successfully launched your first Roll agent. Here are some next steps to expand your setup:
Explore Different Profiles
Try creating profile mappings for different workflows:
- Code Review: Map to a profile that reviews PRs when issues are in “Review”
- Implementation: Map to a profile with write access for “In Progress” issues
- Testing: Map to a profile focused on writing tests for “Testing” state
Refine Your Prompts
As you work with agents, you’ll discover patterns. Update your prompts to:
- Add snippets for common instructions (see Snippets)
- Include more specific technical context
- Define clearer success criteria
Scale Across Teams
Once you’ve perfected your setup for one team:
- Create configurations for other teams
- Share successful prompt patterns using workspace snippets
- Build a library of reusable profile mappings
Monitor and Iterate
- Review agent outputs to identify areas for improvement
- Adjust max turn limits and container sizes based on task complexity
- Fine-tune prompts based on agent performance